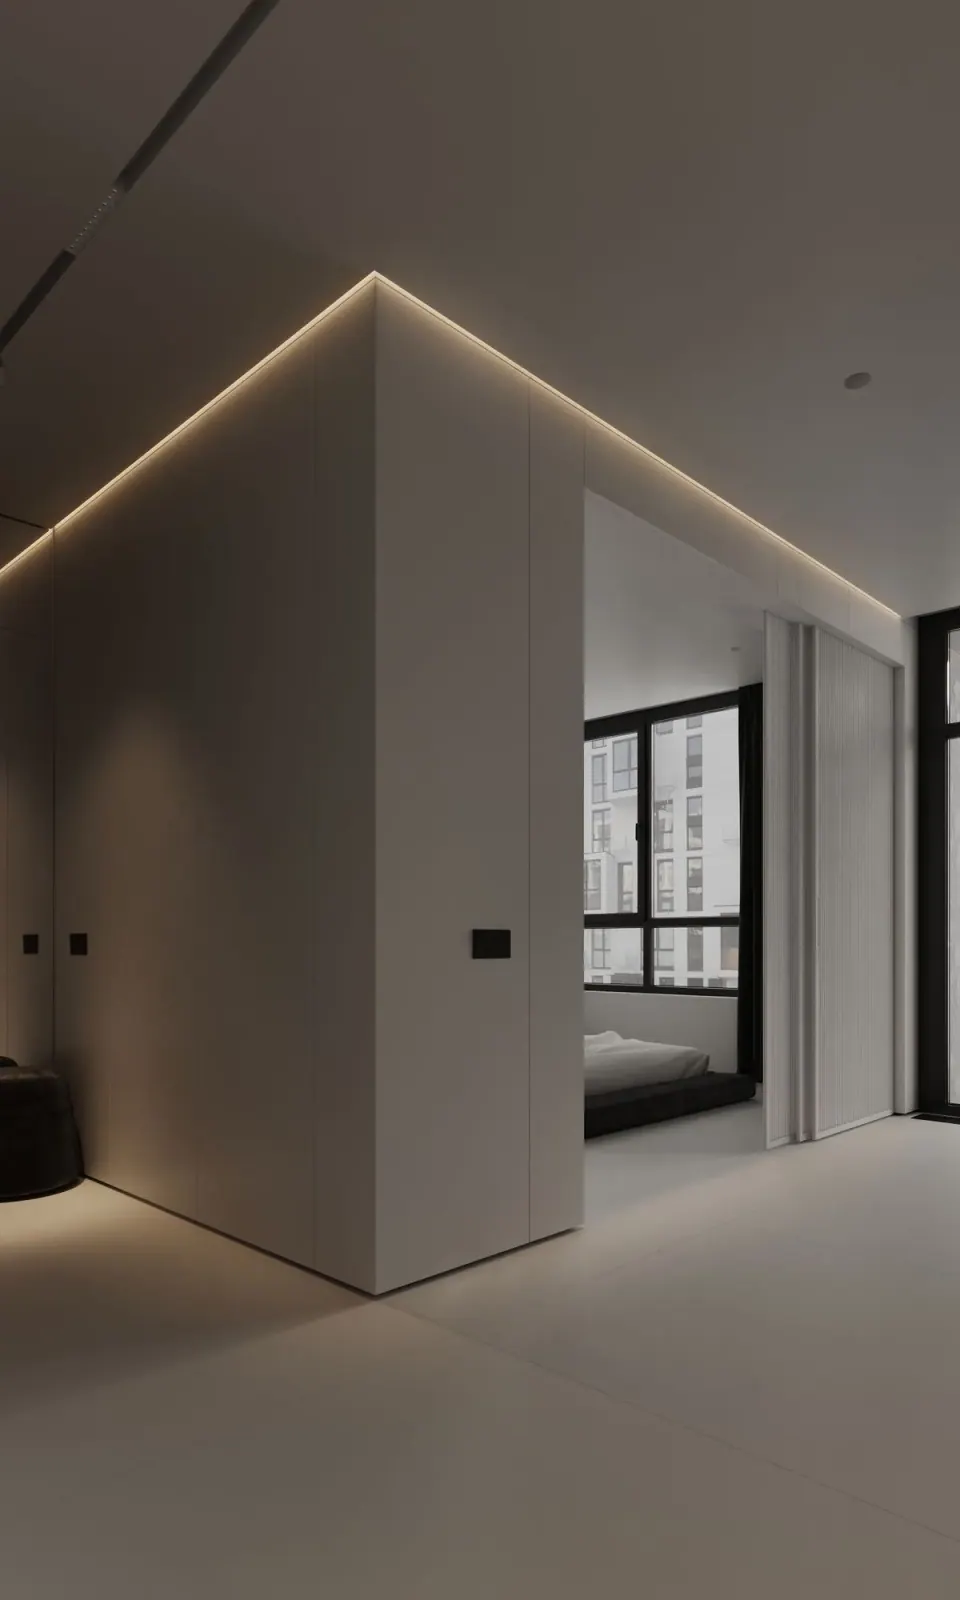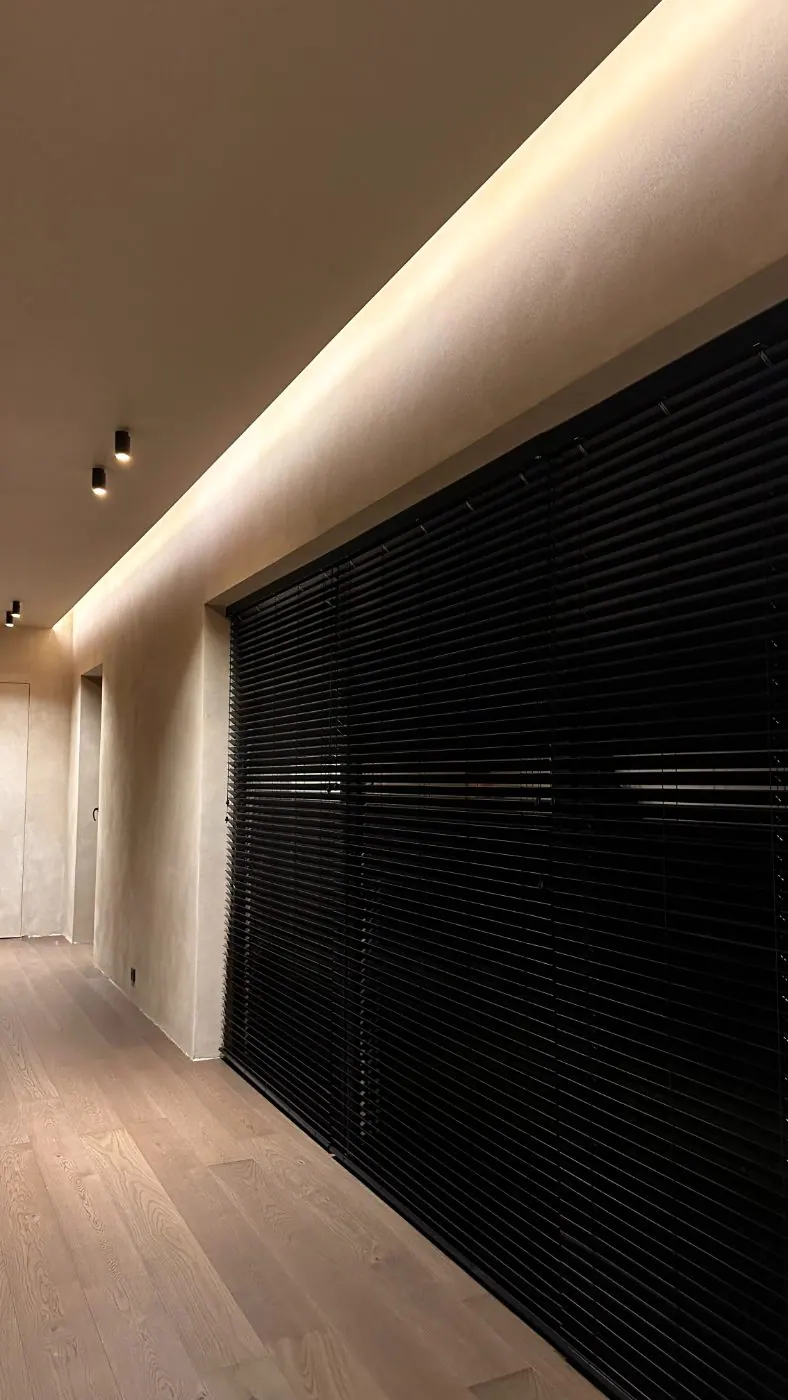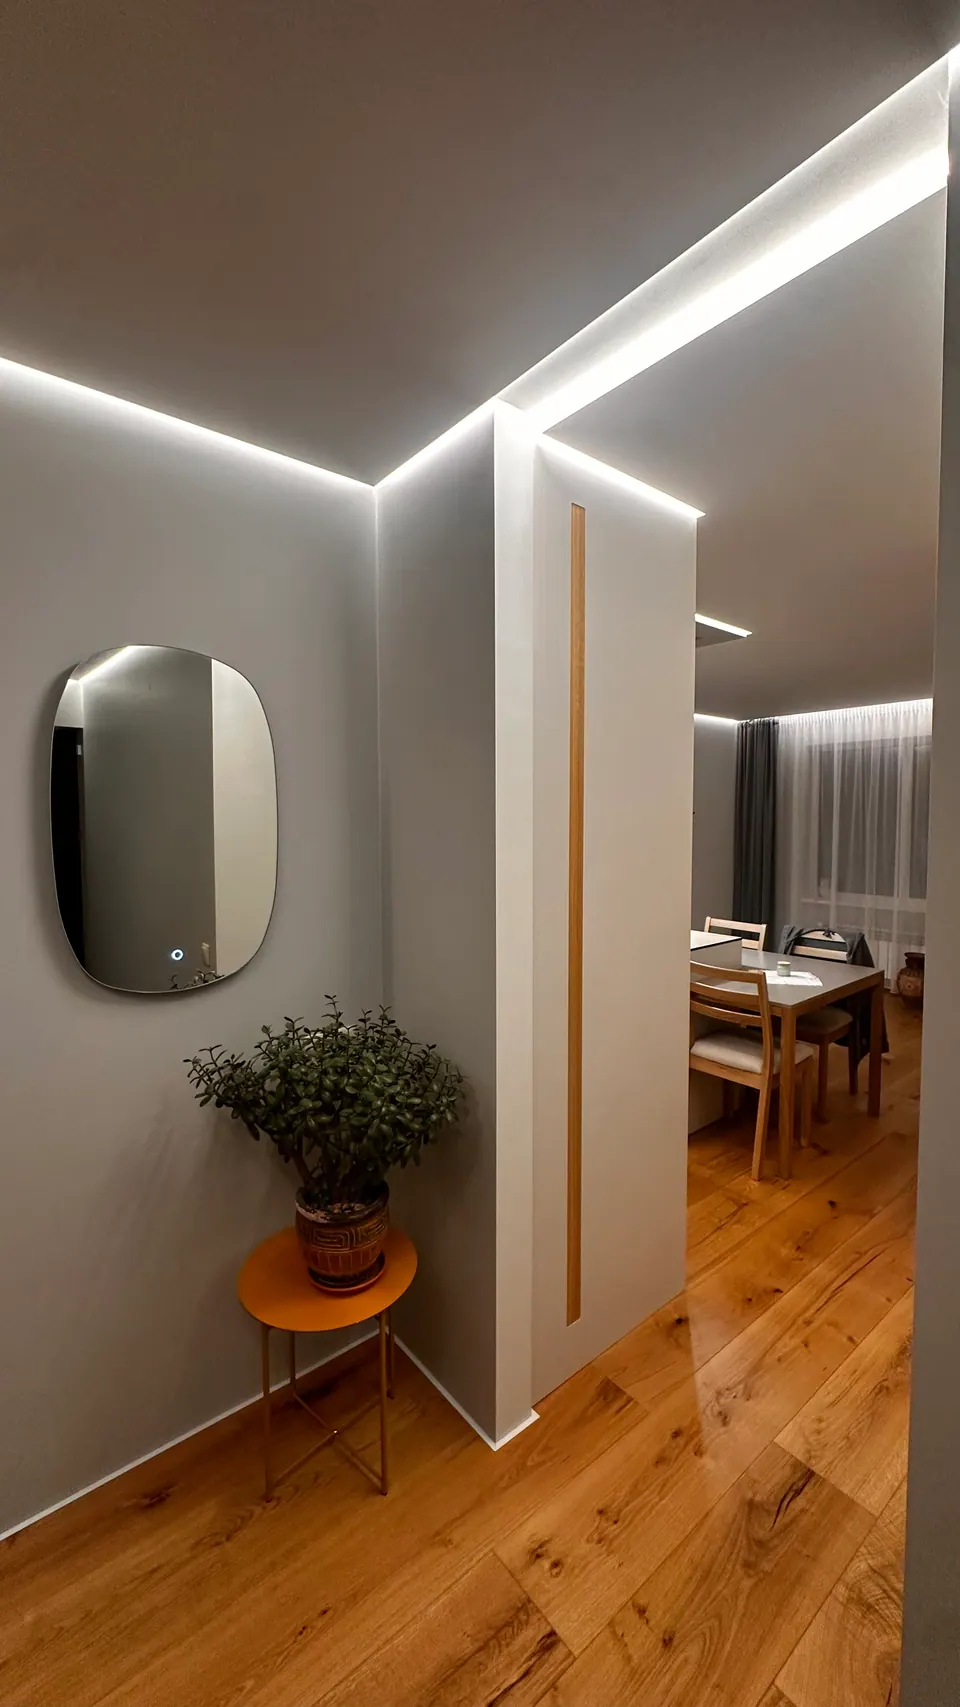
Shadow gap profiles work well in bathrooms. They are most often used for a floating ceiling with an LED reveal, a lit frame around a shower or storage niche, and light lines along a mirror wall or above the bath. The profile is installed as in a dry room, fixed before finishing and plastered in flush. A bathroom adds three things to settle early: where tiles meet the reveal, how moisture protection is detailed, and where the LED drivers and access points go.
This article goes through the typical bathroom details, the profiles that suit them and the points that need agreeing before the boards go up.
Where shadow gaps are used in a bathroom
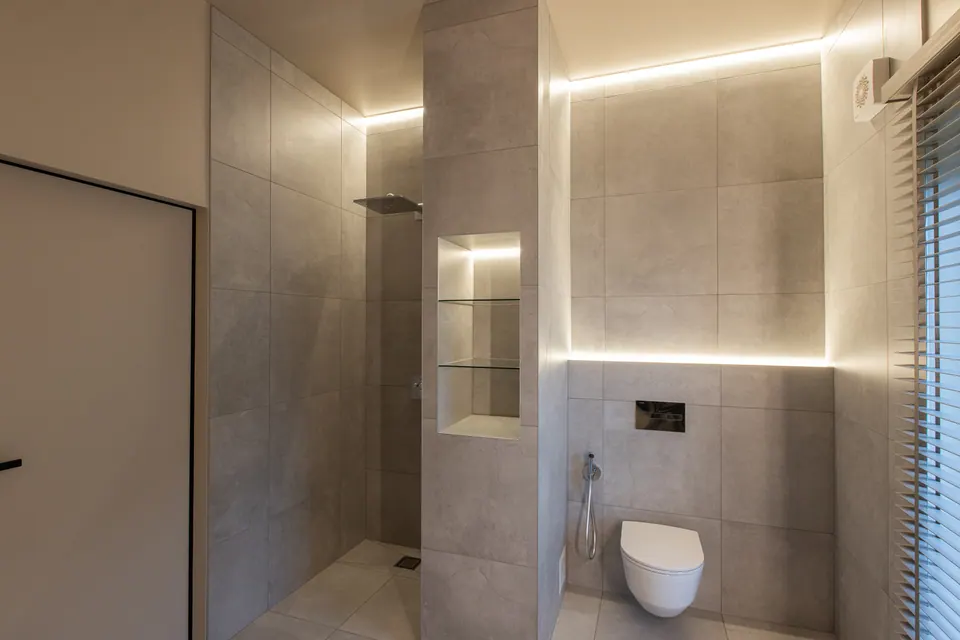
A bathroom has few surfaces, and most of them are hard and reflective. A shadow line, with or without light, gives the room structure without adding fittings. The bathroom projects in our gallery show the most common versions:
- Ceiling perimeter. A reveal between wall and ceiling lets the ceiling appear to float. With an LED-ready profile the reveal also lights the room, and in some projects it is the only light source.
- Shower and storage niches. A light line set into the head or edge of a niche lights the shelves without a visible luminaire, as in the image above.
- Mirror walls. A light line above or around the mirror wall puts light where it is needed without wall lights breaking up the tiles.
- Above the bath. A lit reveal over the bath turns the ceiling junction into soft background light.
- Dry zones with painted walls. In a WC or the part of the room outside the shower, a floor shadow gap profile can replace the skirting just as it does in the rest of the home.
Choosing the profile for each location
The profile family follows the surface, as everywhere else. What changes in a bathroom is the list of things that have to be agreed before installation.
| Location | Profile type | Planning point |
|---|---|---|
| Ceiling perimeter | Ceiling LED shadow gap profile | Driver position and access before boarding |
| Shower or storage niche | Wall LED profile at the niche head or edge | Tile set-out against the reveal edge |
| Mirror wall | Wall or ceiling LED profile | Mirror size and fixings coordinated with the light line |
| Above the bath | Ceiling LED profile | Run length against the standard profile lengths |
| Dry zone, painted walls | Floor shadow gap profile | Same detail as in the other rooms |
For a lit ceiling reveal, AST35 is a 35 mm ceiling LED shadow gap profile with an integrated LED channel. It is supplied in 2500 mm lengths in mill finish, white or black. Its matching clip-in diffuser is ASL40, which the product data lists as compatible with AST-35 and RST-40.
For niches and wall light lines, ASP410 is a 40 mm concealed wall LED profile, installed behind plasterboard before finishing and supplied in mill finish in 2600 mm lengths. The diffuser listed for it is ASL302, which also fits ASP-610. For more on how the profile, strip and diffuser work together, see our article on LED shadow gap profiles.
Tiles and the reveal edge
Our ceiling and wall profiles are made to be plastered in flush with plasterboard. The perforated flange is bedded in jointing compound, covered with reinforcing tape and skimmed flush with the board. In a bathroom, though, much of the wall is usually tiled, and that changes what the reveal edge finishes against.
Before ordering, decide for each edge of each reveal:
- whether the surface next to it is painted plaster or tile;
- where the set-out line sits, measured to the finished surface rather than the bare board;
- how the tile layout runs up to the reveal, so that a thin cut tile does not end up against the most visible edge.
Where tile will meet a profile, agree the detail with us before the order is placed. We can tell you what the installation guidance for that profile covers, and what it does not.
Moisture protection
The product data does not give a moisture or protection rating for the profiles. The safe approach is to treat the shadow gap as part of the board system around it.
- The board type and any waterproofing in wet zones follow the board and waterproofing manufacturers’ instructions and local building regulations.
- The point where a waterproofing layer meets a profile is a detail in its own right. Agree it before work starts, not when the tiler arrives.
- If a profile is planned inside a shower area or another wet zone, ask us about that specific location before it goes into the drawings.
LED and electrics
A lit reveal in a bathroom is an electrical installation in a room where electrical rules are usually stricter than elsewhere. Plan it as part of the design:
- Mark every light line on the drawings, with its profile, diffuser and run length.
- Have the LED strip and driver specified by the lighting designer or electrician for the bathroom zone they sit in. The profile provides the channel; the strip and driver are chosen for the installation.
- Fix driver and access positions before boarding. Drivers need to stay accessible after the room is finished.
- Plan the joints. Profiles come in standard lengths of 2.5, 2.6 and 3.0 m. Over a bath or a mirror wall, decide where any joint falls before installation, not after.
- Install the strip and diffuser after decoration, so that dust and paint stay out of the channel.
Electrical work must be done by a qualified electrician to local regulations.
Finish
In a bathroom the profile often sits next to white ceilings, light-coloured tile and chrome or black fittings. White profiles blend into a white ceiling, so only the shadow or the light shows. Black gives a sharper line and can pick up black taps, frames or drains. Where a profile lists RAL colours, it can be powder-coated to match the paint or tile on request. Once the LED is on, what you see at the reveal is the matt white diffuser, so the profile finish matters most when the light is off.
Bathroom checklist
- Shadow gap and light lines drawn on plans, sections and elevations.
- Profile and matching diffuser chosen for each location.
- Paint or tile confirmed at every edge, with set-out to the finished surface.
- Waterproofing interface agreed with the board and membrane system.
- Driver positions, cable routes and access agreed with the electrician.
- Profiles fixed before finishing; LED strip and diffuser inserted after decoration.
Distributors who want to offer the complete bathroom detail can read about our partner programme. Contractors and other trade buyers can request a free sample box to see the profiles and finishes before the job starts.