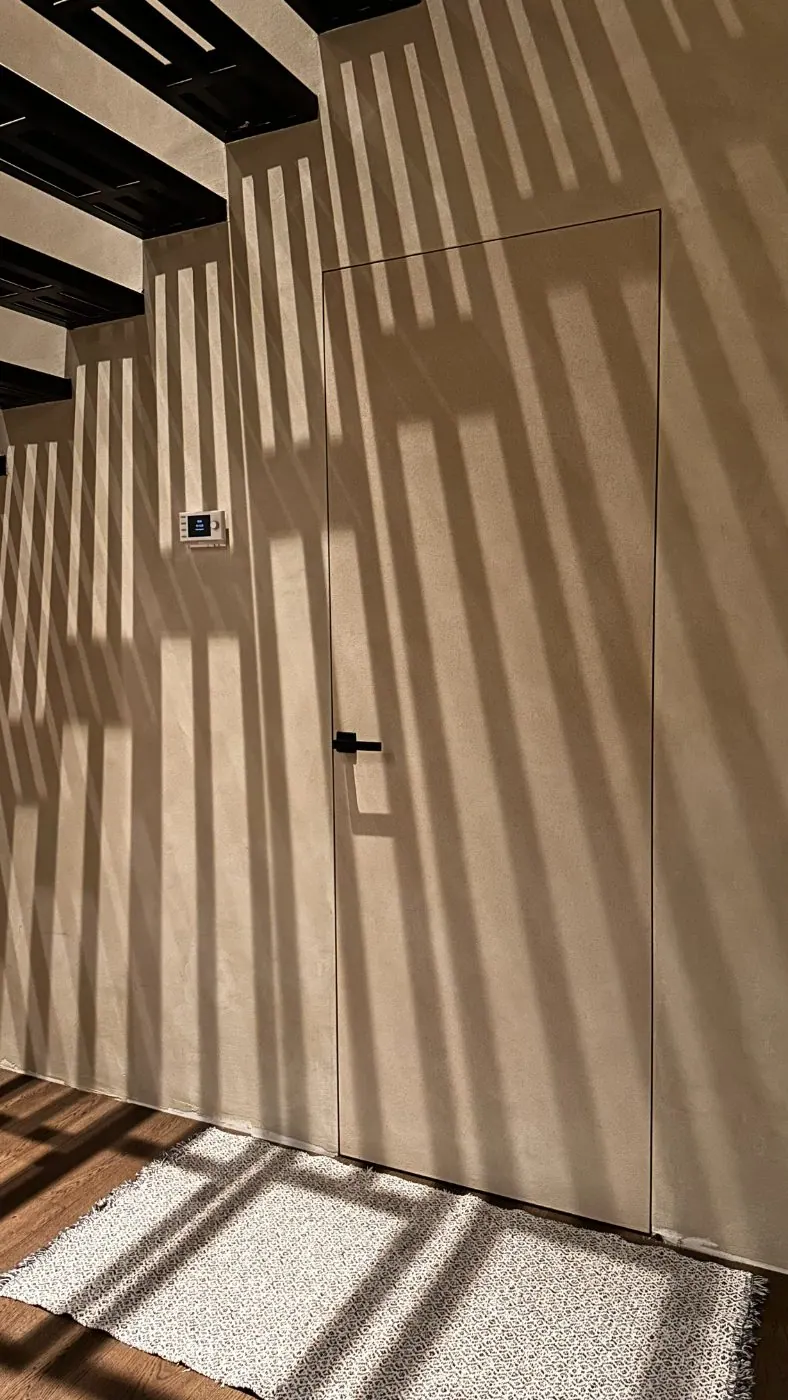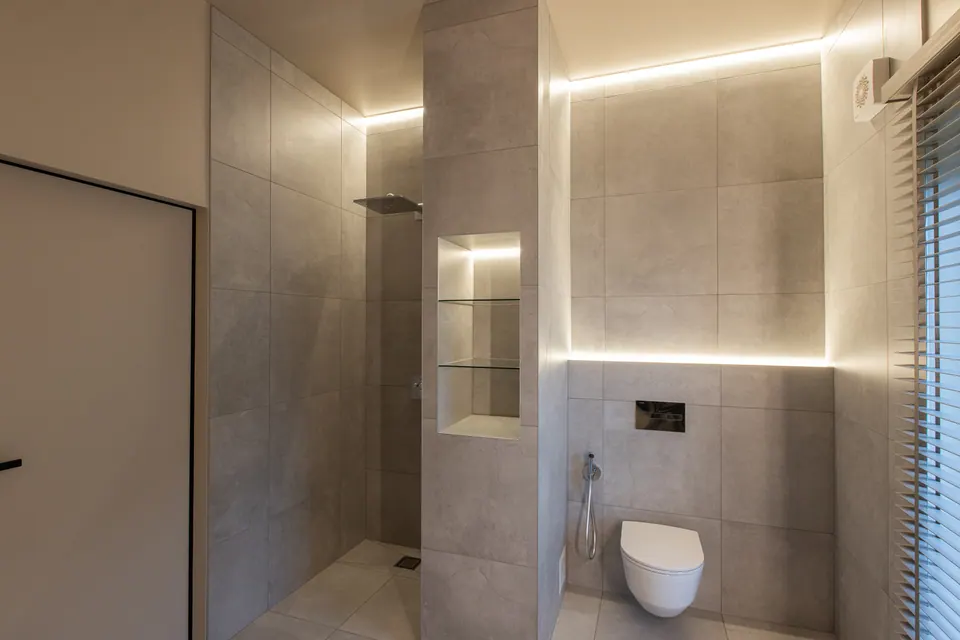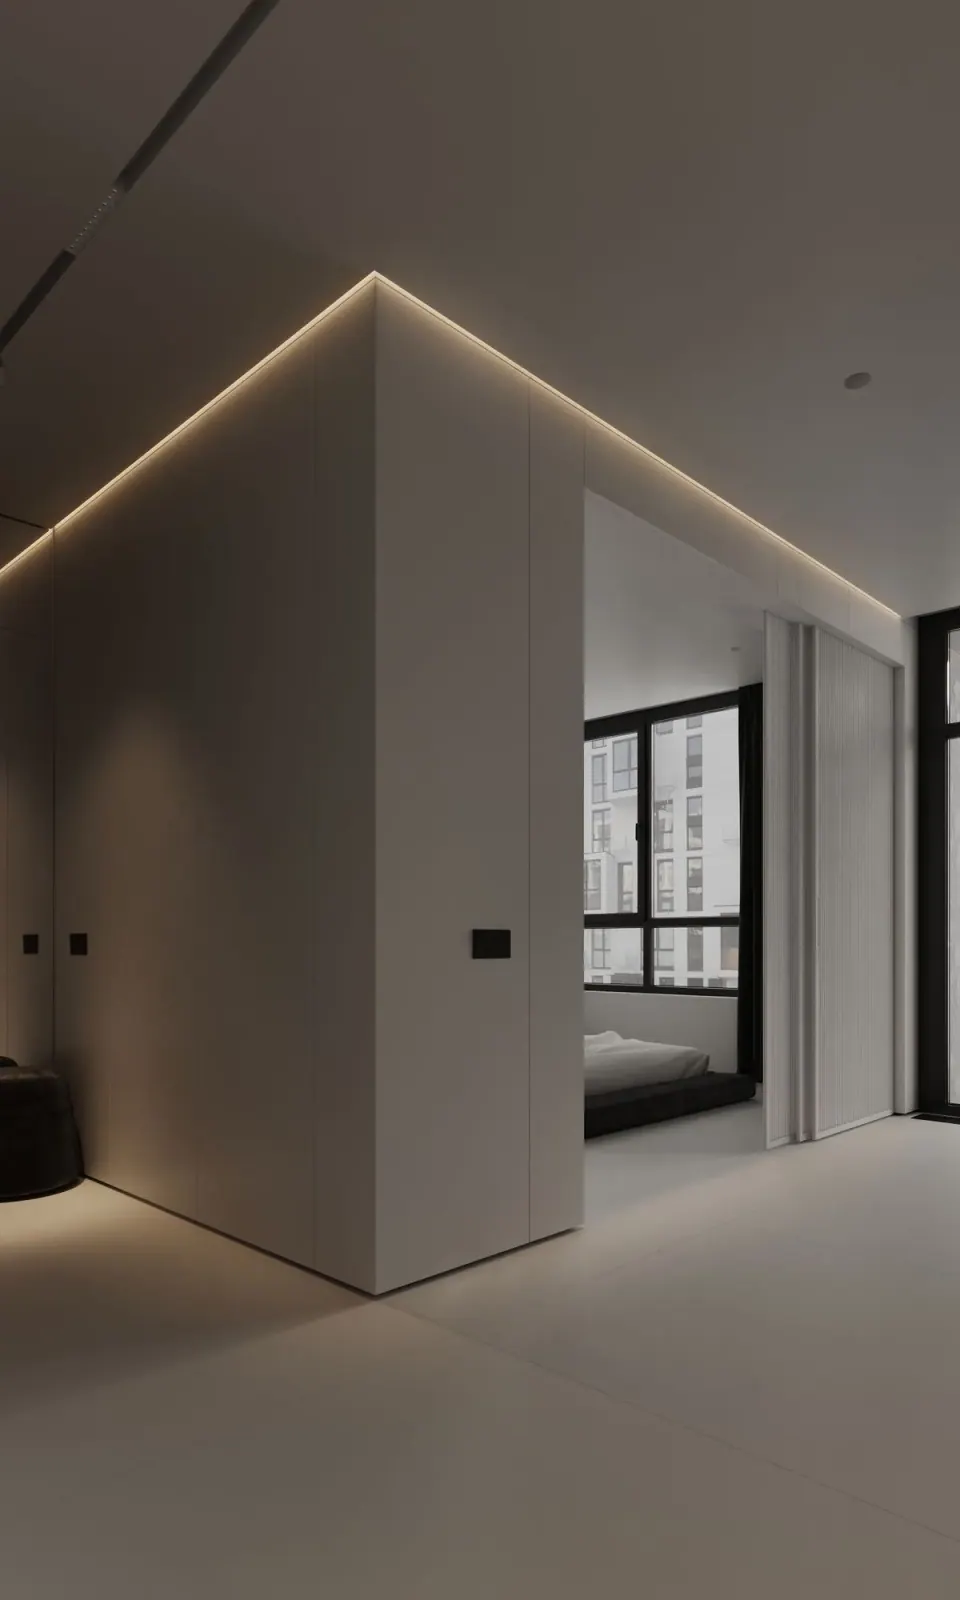
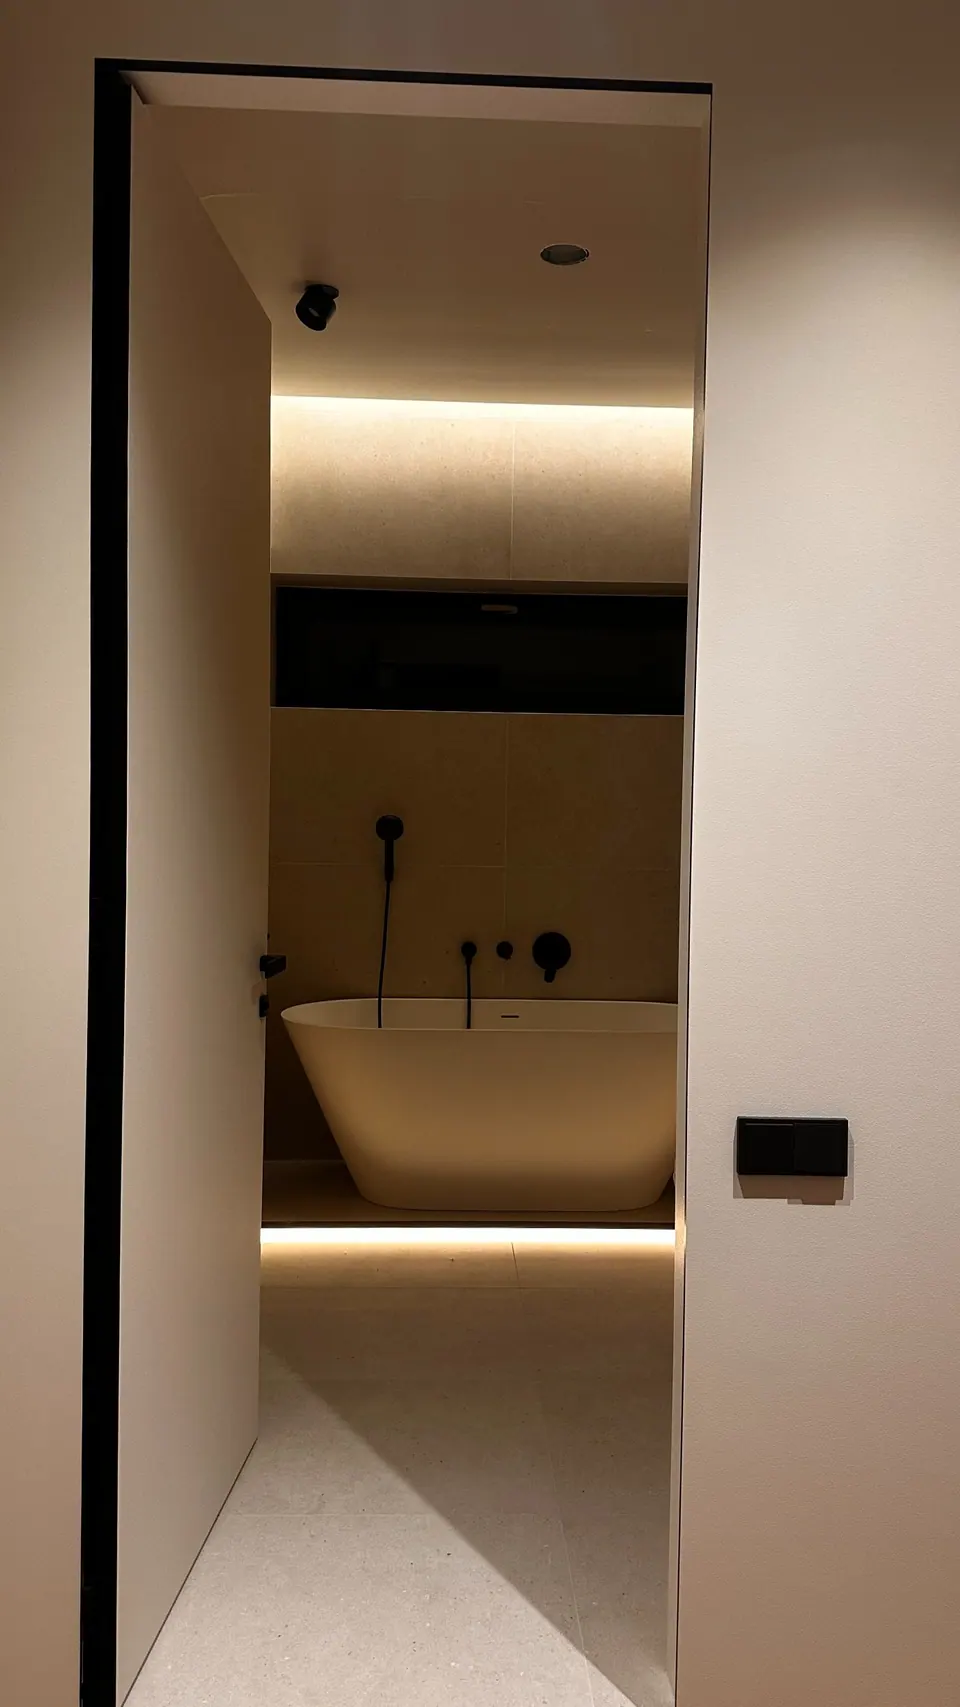
An LED shadow gap profile is an aluminium shadow gap profile with an integrated channel for LED strip. It is plastered in at the ceiling, wall, floor or skirting line like any shadow gap profile, and after decoration an LED strip and a clip-in diffuser are inserted so the reveal itself becomes a continuous line of light. The result is light without visible luminaires, built into the architecture rather than added to it.
Getting a clean, even line depends on choosing the right profile, matching the diffuser to it, and planning power and access before the surfaces are closed. This article explains each part. For the basics of the detail itself, start with the complete guide to shadow gap profiles.
The three parts of an LED shadow gap
The profile. An aluminium section that forms the reveal and contains the LED channel. It is fixed before finishing, its perforated flange is bedded in jointing compound, taped and skimmed flush with the board.
The LED strip. Fitted into the channel after decoration. The strip determines brightness and colour temperature, so it should be chosen with the lighting design, not as an afterthought.
The diffuser. A clip-in cover that spreads the light of the strip into an even line and hides the individual LEDs. Diffusers are supplied as accessories and matched to particular profiles.
Around these parts sit the driver, the feed cables and access for maintenance. Drivers are not part of our profile catalogue; they are specified by the electrician or lighting designer.
LED-ready profiles by surface
The catalogue lists an LED channel on profiles in every family. Dimensions below are as stated in the catalogue.
| Surface | Profiles with LED channel | Notes |
|---|---|---|
| Ceiling | LHV10, AST14_12, RST14, AST22, AST201, AST25, RST25, AST30, AST35, AST45, AST50, AST12, AST218, RST12, RST22, RST40 | From 13 mm (RST14) to a 45 mm visible width (AST45) |
| Floor | ASP238, ASPL120, ASPL130, ASPL35, ASPL60, ASP904, ASP905, ASP102, ASP106, ASPL100 | Heights from 20 mm to 100 mm |
| Wall | ASP410, ASP610 | Heights 40 mm and 60 mm |
| Skirting | MPA301, MPA302, MPV301 | TINLINE series; MPA301 and MPA302 have a visible height of 25 mm |
See the full ceiling range and the floor range for sections and drawings.
Where each family works best
- Ceiling profiles give indirect light around the perimeter of a floating ceiling, or a light line across the ceiling plane. AST25 is a good starting point, with a 25 mm shadow line and a 3000 mm standard length.
- Wall profiles such as ASP410 and ASP610 create vertical or horizontal light lines in plasterboard walls, for example to frame a niche or a mirror wall.
- Floor profiles and LED skirting give a low line of light along the base of the wall, useful for orientation in corridors and on stairs.
LED strip: what the catalogue states
Only one profile in the catalogue lists an LED specification: AST25, at 12 W/m, 234 LED/m, 3000K, 24V. For every other LED-ready profile, the catalogue confirms the channel but does not list a strip specification, so the strip is chosen to suit the channel and the lighting design. If you are unsure whether a strip fits a given profile, check the product page or ask us before ordering.
When choosing a strip, agree these points with the lighting designer or electrician:
- Colour temperature. It should be consistent across all light lines in the room.
- Output. Indirect light in a ceiling reveal needs a different output from an orientation line at floor level.
- Voltage and driver. The strip, driver and cable runs must work together, and drivers need an accessible location planned in advance.
- Cutting points. The strip has to be cut to the length of each run, so corners and ends affect where the strip is cut.
Diffusers: matching the cover to the profile
The diffuser has the biggest influence on how even the line looks. Each diffuser in the catalogue is listed for specific profiles:
| Diffuser | Listed compatibility | Material | Length |
|---|---|---|---|
| ASL25 | RST25 | Polycarbonate / silicone | 3000 mm |
| ASL40 | AST35, RST40 | Polycarbonate / silicone | 3000 mm |
| ASL300 | ASPL35, ASPL60, ASPL100 | Polycarbonate / silicone | Not stated |
| ASL302 | ASP410, ASP610 | Polycarbonate / silicone | Not stated |
| ASL312 | ASPL130, AST14_12 and RST profiles as listed on the product page | Polycarbonate / silicone | Not stated |
| ASK100 | MPV-series LED skirting, as listed on the product page | Polycarbonate / silicone | Not stated |
| HAJUTI-M | Not stated | PVC / silicone | Not stated; cut per linear metre |
All diffusers are listed in matt white. HAJUTI-M is a matt diffuser strip that can be cut per linear metre and is bendable. For profiles not listed above, the product page says a matching diffuser is used; ask us which one before ordering.
Planning the installation
LED shadow gaps fail most often because something was not planned before the surfaces were closed. Work through this sequence:
- Design. Show the light lines on the drawings together with the profile sections. Mark feed points and driver locations.
- First fix. Run cables to each feed point and prepare driver positions with access, before the profile is fixed and the boards are closed.
- Profile installation. Fix the profile at the specified line and level and plaster it in flush, keeping the LED channel clean of compound.
- Decoration. Finish and paint all surfaces. The strip and diffuser go in after this stage, so they are not damaged or soiled.
- Second fix. Insert the LED strip and the clip-in diffuser, then connect and test. Electrical work must be done by a qualified electrician to local regulations.
Always follow the installation guide for the specific profile; partners and professionals receive it on request.
Getting an even line
- Use the matched diffuser. Choose the diffuser listed for the profile; it is matched to that channel.
- Plan joints. Profiles come in standard lengths of 2500, 2600 or 3000 mm depending on the product, so long runs have joints. Keep them tight and aligned so the light line stays continuous.
- Think about corners. Decide how the strip and diffuser turn each corner before installation. A bendable diffuser such as HAJUTI-M may help on some layouts.
- Keep the channel clean. Compound or paint in the channel can stop the diffuser seating properly.
Where LED shadow gaps make the most difference
LED profiles are most effective where they replace luminaires entirely: a floating ceiling lit only by its perimeter line, a bathroom lit by lines in the walls and ceiling, or a corridor guided by a low line at floor level. The image above shows a bathroom where profile-integrated LED is the only light source. For the ceiling version of the detail, see Floating ceiling with a shadow gap.
Distributors who want to offer LED-ready profiles and matching diffusers as one system can read about our partner programme. Architects, lighting designers and contractors can request a free sample box to check profiles and diffusers in hand.