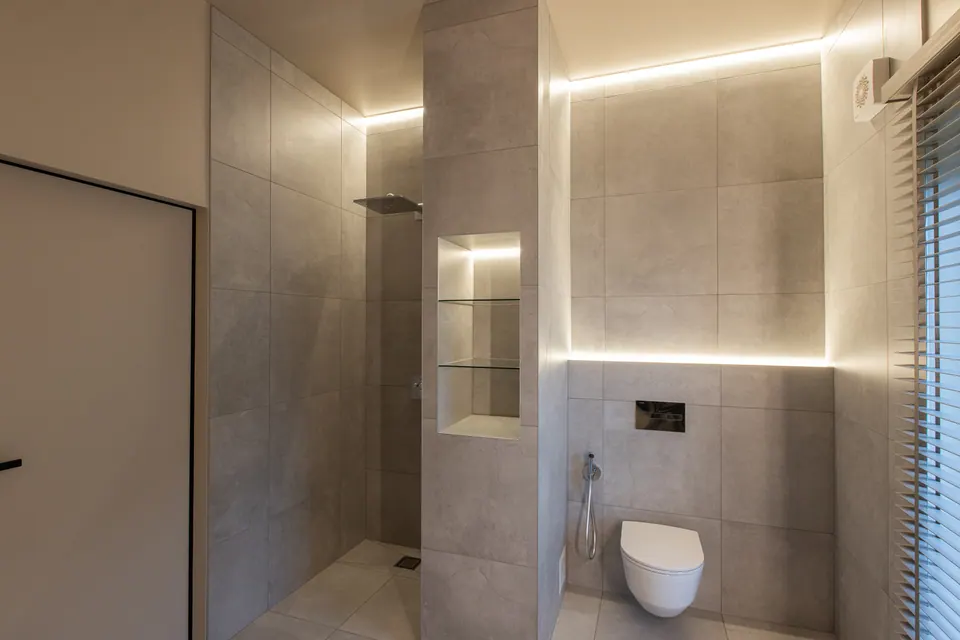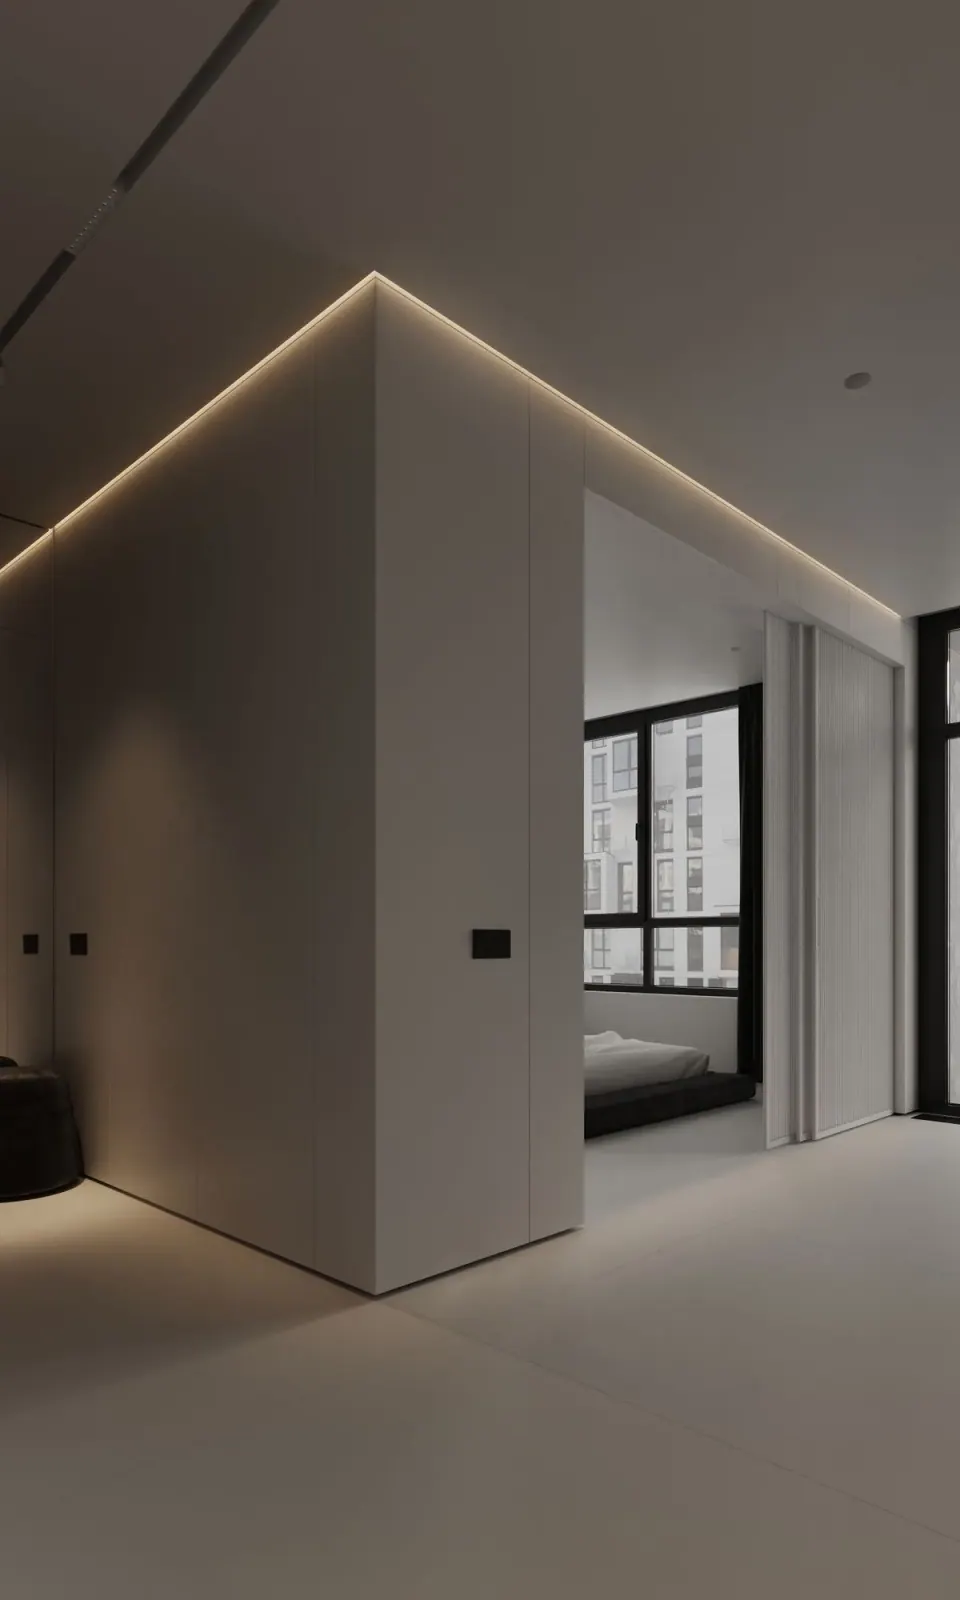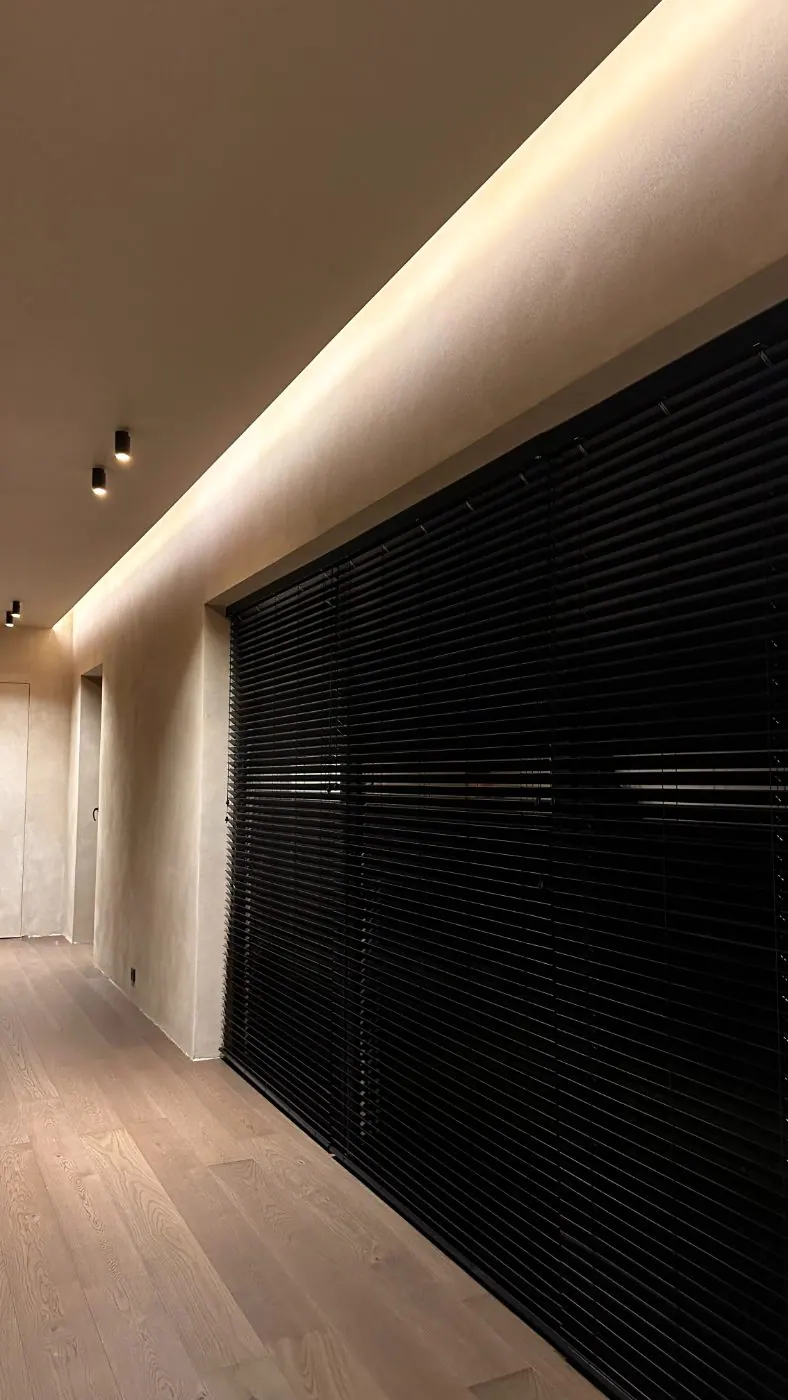
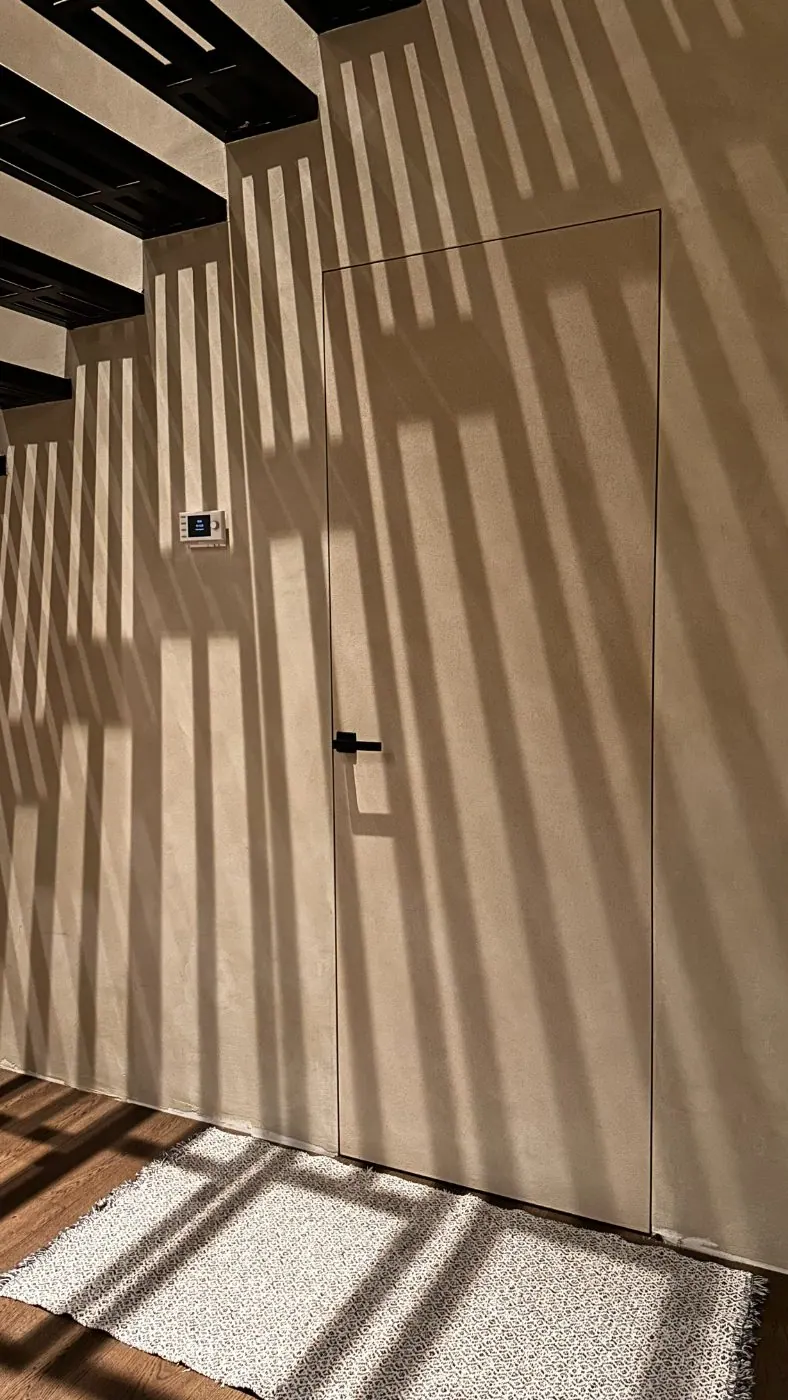
A concealed or flush door sits in the same plane as the wall, without an architrave, so the door reads as part of the wall surface. Shadow gap profiles make this work: concealed aluminium wall profiles form negative reveals and flush door frames in plasterboard walls, and matching ceiling and floor profiles carry the same clean line around the room. We supply those profiles; the door leaf, its concealed frame and hardware come from a door supplier.
Done well, the door is only visible as a thin line and a handle, or not at all. Done badly, it is a slightly misaligned panel in a slightly uneven wall. The difference is almost entirely in planning and coordination.
Why shadow gaps and concealed doors belong together
A flush door without an architrave still has edges: the gap around the leaf, the head of the opening, and the junctions where the wall meets ceiling and floor. Each of these is a line the eye will follow. If those lines are random, the door stands out. If they are crisp and deliberate, the door becomes one more line in a composed wall.
Shadow gap profiles give you control over those lines:
- A ceiling reveal above a floor-to-ceiling door means the door can run all the way up without a visible head detail against the ceiling.
- A floor shadow gap profile replaces the skirting, so no board has to stop and start at the door opening.
- Wall reveals and panel joints let you place additional lines that align with the door edges, so the door gap becomes part of a pattern rather than an exception.
Profiles that surround a concealed door
| Location | Profile family | Examples from the catalogue |
|---|---|---|
| Wall reveals and flush transitions | Concealed wall profiles | ASP116 (60 mm), ASP168 (60 mm), ASP611 (60 mm), ASP411 (40 mm), ASP198 (91 mm) |
| Wall light line beside or above the door | LED wall profiles | ASP410 (40 mm), ASP610 (60 mm) |
| Slim wall line | Wall shadow gap profile | LPA909 (8.8 mm width) |
| Ceiling junction | Ceiling shadow gap profiles | LPA126 (6 mm shadow line), AST5 (6 mm), AST25 (25 mm) |
| Floor junction | Floor shadow gap profiles | ASP112 (20 mm), ASP108 (80 mm) |
| External edges | Corner profiles | DKP1010, DKP1515, DKP2020 |
Dimensions are as stated in the catalogue. Our wall profiles are installed behind plasterboard before finishing and come in a standard length of 2600 mm. Finishes vary: ASP116 is available in silver, black or white; ASP611 in mill finish or any RAL colour; ASP168, ASP198, ASP411, ASP410 and ASP610 in mill finish.
Which wall profile suits a particular door depends on the door’s concealed frame and on the wall build-up. Compare the dimensioned drawings on the product pages, where available, with the door supplier’s details, and ask us if the fit is not clear. We do not publish DWG or CAD files; anything beyond the product page drawings is available on request.
Coordinating the trades
A concealed door involves at least three parties: the door supplier, the drywall or finishing contractor, and the decorator. Often an architect or interior designer sets the lines. The detail fails when each works to their own reference.
Agree these points before boarding starts:
- One datum. Set a single height reference for the door head, ceiling reveal and any horizontal wall lines, so they align.
- Frame before profile. The door frame is installed to the door supplier’s instructions; the shadow gap profiles are then fixed to the framing, substrate or board at the specified line and level.
- Gap widths. Decide whether the door gap and the wall reveals should read as the same width. Matching them gives the calmest result; the catalogue lists wall and ceiling profiles from slim lines upward.
- Finish. Decide whether the profile, the door and the wall will be painted the same colour. Most aluminium profiles can be powder-coated in any RAL colour on request.
- Light. If an LED line is planned near the door, agree feed and driver positions with the electrician before the wall is closed.
Order of work on site
The exact sequence depends on the door system, so agree it with the door supplier. A typical order is:
- Framing. Build the stud wall and opening to the agreed dimensions and datum.
- Door frame. Install the concealed door frame as specified by the door supplier.
- Profiles. Fix wall, ceiling and floor profiles at the specified line and level, following the installation guide for each profile.
- Boarding and plastering in. Board the wall, bed the perforated flanges in jointing compound, cover with reinforcing tape and skim flush.
- Decoration. Finish and paint walls, ceiling, door leaf and profiles as agreed.
- Second fix. Hang the door leaf and fit hardware at the stage the door supplier specifies. For LED profiles, insert the strip and diffuser after decoration; electrical work must be done by a qualified electrician to local regulations.
Always follow the installation guide for the specific profile; partners and professionals receive it on request.
Design patterns that work
Floor-to-ceiling door in a floating-ceiling room. The door runs up to a continuous ceiling reveal, so the head of the door disappears into the shadow line. See Floating ceiling with a shadow gap for how the ceiling side is built.
Corridor of flush doors. A row of concealed doors with a floor shadow gap profile and a ceiling reveal reads as one calm wall. Using a recessed floor profile instead of skirting avoids short pieces of board between doors; our comparison of shadow gap profiles and skirting boards explains the options.
Door in a panelled wall. Wall reveals at regular intervals, aligned with the door edges, turn the door gap into one of several joints. Concealed wall profiles are designed for exactly this kind of negative reveal and panel joint.
Light line beside the door. An LED wall profile such as ASP410 or ASP610 gives a vertical light line next to the opening, with a matched diffuser (ASL302 is listed for both).
You can see flush doors with shadow gap frames, a floor-to-ceiling concealed door and corridors of flush door frames in our project gallery.
Common mistakes
- Treating the door and the wall as separate packages. They have to be detailed together.
- Different heights. A door head a few millimetres off the ceiling reveal or a wall line is immediately visible.
- Skirting at the door. A conventional skirting that stops at each door breaks the effect; use a floor shadow gap profile instead.
- Late colour decisions. If profiles are to be powder-coated, specify the RAL colour early.
Architects and contractors can check wall and floor profiles in hand with a free sample box. Distributors who already supply door systems or drywall materials can read about our partner programme.