A floating ceiling with a shadow gap is built by fixing an aluminium shadow gap profile at the junction between wall and ceiling before the plasterboard is finished, then plastering it in flush. The profile creates a continuous recessed reveal, so the ceiling plane appears to stop just short of the wall and hover above the room. The width of the gap, and whether it carries LED light, is set by the profile you choose.
The detail looks simple when it is finished. That is exactly why it needs planning: a shadow line is honest, and it shows every error in level, straightness and joint quality. This article walks through how the junction is built and how to choose the profile. For the wider context, see our complete guide to shadow gap profiles.
What makes a ceiling look like it floats
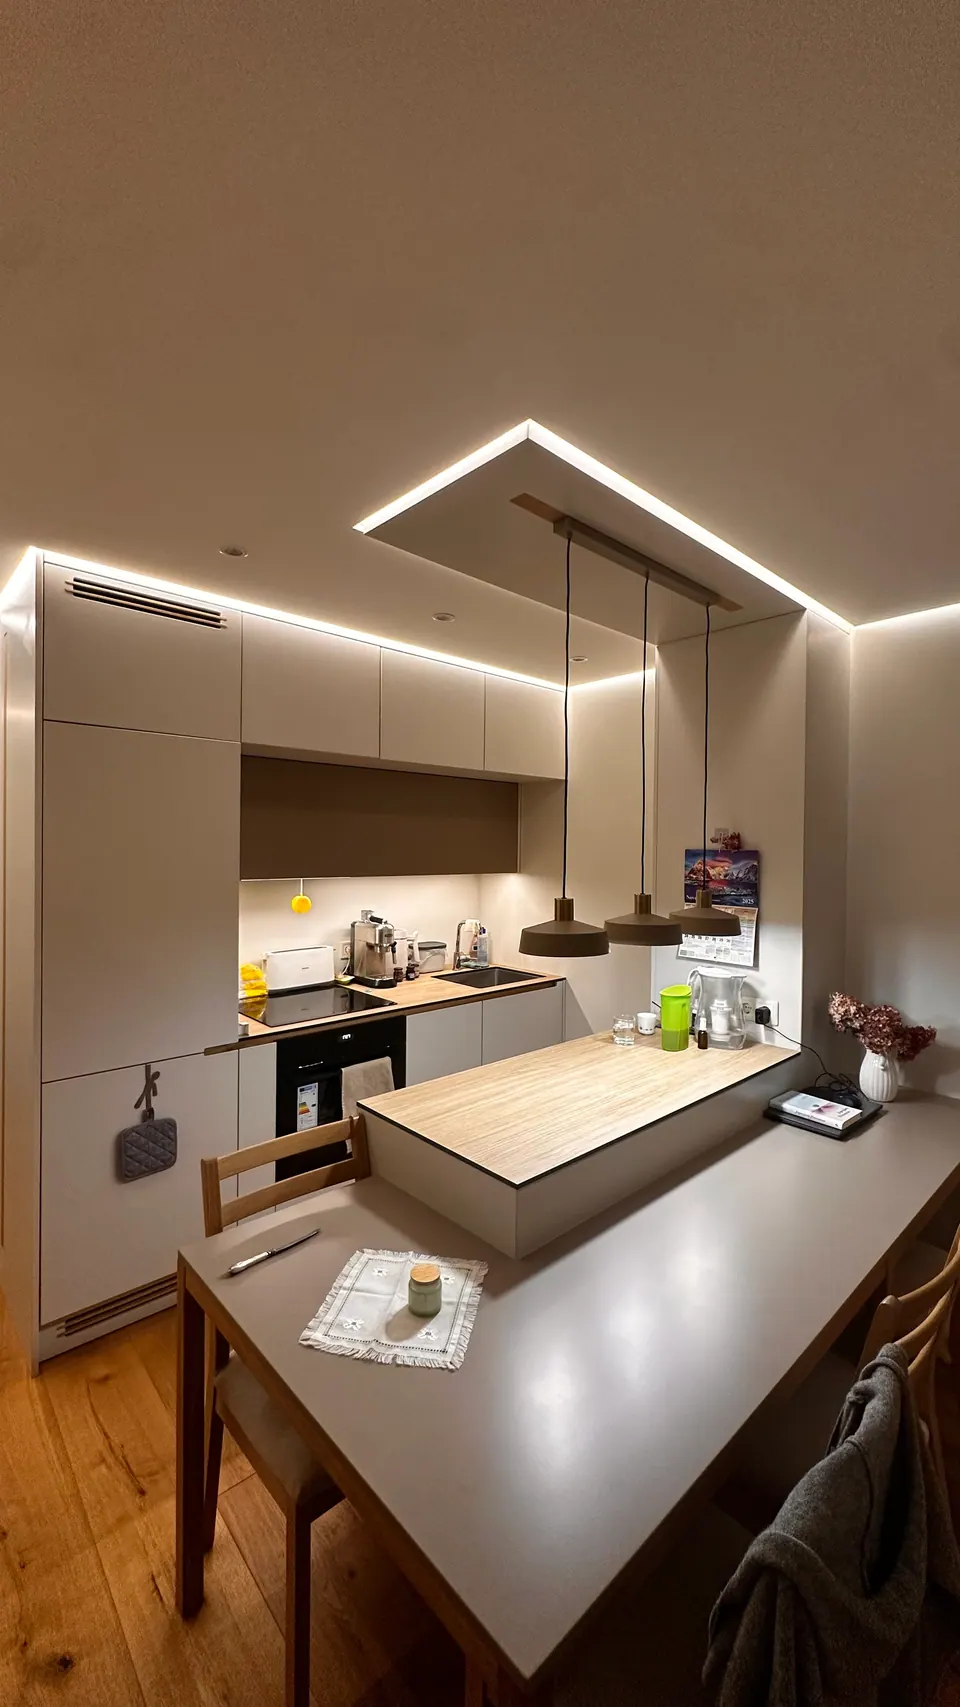
In a conventional room, the ceiling meets the wall in a plain internal corner, often covered with a cornice. In a floating ceiling, that corner is replaced by a narrow void. Light does not reach into it, so it reads as a dark line that runs around the perimeter of the room.
The eye interprets that line as separation. The ceiling no longer seems to rest on the walls; it seems to sit independently above them. The effect depends on three things:
- Continuity. The line must run unbroken around the room, including corners.
- Consistency. The gap must be the same width everywhere. A gap that narrows or widens is immediately visible.
- Crisp edges. The arris on each side of the gap must be straight and sharp. This is the job of the aluminium profile, which also protects the plaster edge.
How the junction is built
The build sequence is the same in principle for every plastered-in ceiling profile. Always follow the installation guide for the specific profile; partners and professionals receive it on request.
- Design it into the drawings. The reveal is part of the detail, not an afterthought. Decide the profile, the gap width and the ceiling level before the framing goes up, and show the section on the drawings.
- Set out the line and level. Mark the ceiling level around the whole room. Because the shadow exaggerates any deviation, this set-out is the most important step on site.
- Fix the profile. Fix it to the framing, substrate or board at the specified line and level, following the installation guide for that profile.
- Plaster it in. Bed the perforated flange in jointing compound, cover it with reinforcing tape and skim flush with the board.
- Finish and decorate. Paint the ceiling and walls. A straight, well-fixed profile keeps the shadow line crisp.
- Add light, if specified. For LED profiles, plan driver and access positions in advance and insert the LED strip and diffuser after decoration. Electrical work must be done by a qualified electrician to local regulations.
Joints and corners
Our ceiling profiles come in standard lengths of 2500 mm, with some at 2600 mm or 3000 mm (see the table below), so most rooms need joints along the run. Keep joints tight and aligned, and plan them away from the most visible sightlines where you can. How internal and external corners are formed varies by profile; check the product page or ask us before ordering, so the corner method is agreed before installation starts.
Choosing the gap width
The gap defines how strong the shadow reads. A slim line is quiet and architectural; a wider reveal makes a bolder statement and can hold an LED strip. The table lists ceiling profiles from our ceiling profile range with the dimension stated in the catalogue.
| Profile | Stated dimension | LED channel | Standard length | Finishes |
|---|---|---|---|---|
| LPA126 | Shadow line 6 mm | No | 2600 mm | Mill, black, RAL |
| AST5 | Width 6 mm | No | 2500 mm | Mill, white, black |
| AST8 / AST10 / AST20 | Width 10 mm | No | 2500 mm | Mill, white, black |
| RST14 | Width 13 mm | Yes | 2500 mm | Mill, silver, black, white |
| AST14_12 | Width 14 mm | Yes | 2500 mm | Mill, silver, black, white |
| LHV10 | Height 20 mm | Yes | 2500 mm | Mill, white, black |
| AST22 / AST201 | Width 22.5 mm | Yes | 2500 mm | Mill, white, black |
| AST25 | Shadow line 25 mm | Yes | 3000 mm | Mill, white, black, RAL |
| RST25 | Width 25 mm | Yes | 2500 mm | Mill, white, black |
| AST30 | Width 30 mm | Yes | 2500 mm | Mill, white, black |
| AST35 | Width 35 mm | Yes | 2500 mm | Mill, white, black |
| AST45 | Visible width 45 mm | Yes | 2500 mm | Mill, white, black, RAL |
The range also includes further ceiling profiles without a stated width, such as AST50, AST12, AST218, RST12, RST22, RST40, AST101 and RST1020. Their sections are shown on the product pages, with dimensioned drawings where available.
A few practical pointers:
- For a pure shadow line, a 6 mm profile such as LPA126 gives the slimmest reading. It is plaster-in, flush with the plasterboard, and has no LED channel.
- For a reveal that also lights the room, an LED-ready profile such as AST25 gives a 25 mm shadow line with an integrated LED channel. Its catalogue entry lists an LED specification of 12 W/m, 234 LED/m, 3000K, 24V.
- For the deepest reveal, AST45 is a ceiling-recessed, plaster-in profile with a visible width of 45 mm, a visible height of 42 mm and a profile height of 68 mm. Check that the ceiling build-up has room for it.
Finish and colour inside the gap
Most ceiling profiles are supplied in mill finish, white or black; AST14_12 and RST14 are also available in silver. AST25, AST45 and LPA126 list RAL colours, and most aluminium profiles can be powder-coated in any RAL colour on request. A darker finish inside the reveal deepens the shadow, while a white profile softens it. If the colour matters to the design, hold a finish sample against the actual paint before you specify.
Adding light to the shadow gap
An LED-ready ceiling profile turns the junction itself into the light source. The strip sits in the integrated channel and a clip-in diffuser spreads its light into an even line. Diffusers are supplied as accessories and are matched to specific profiles, for example ASL25 for RST25 and ASL40 for AST35 and RST40.
The lighting needs the same planning as the profile. Decide feed points, driver locations and service access before the ceiling is closed, because they are hard to add afterwards. We cover strips, diffusers and planning in more detail in LED shadow gap profiles: light, strip and diffuser.
Details that work alongside a floating ceiling
A floating ceiling often sits in a room with other flush details, and it pays to design them together:
- Concealed curtain tracks. KA1 (single) and KA2 (double) are recessed into the plasterboard ceiling, so curtains appear to descend directly from the ceiling plane. KA2 needs a recess of about 80 mm.
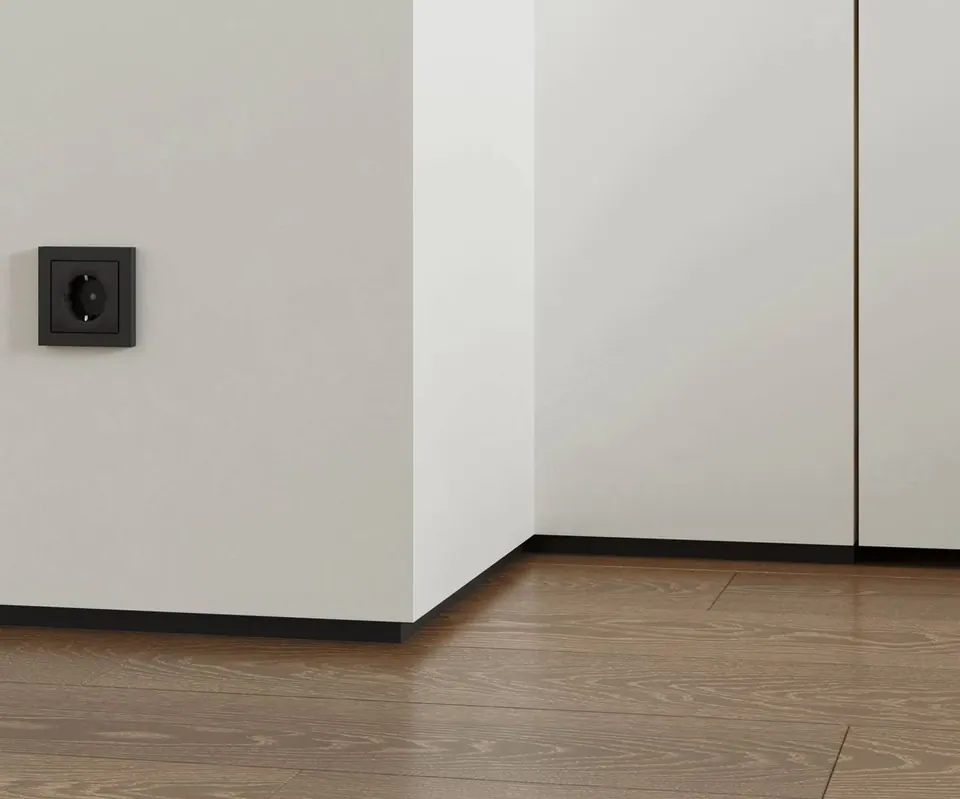
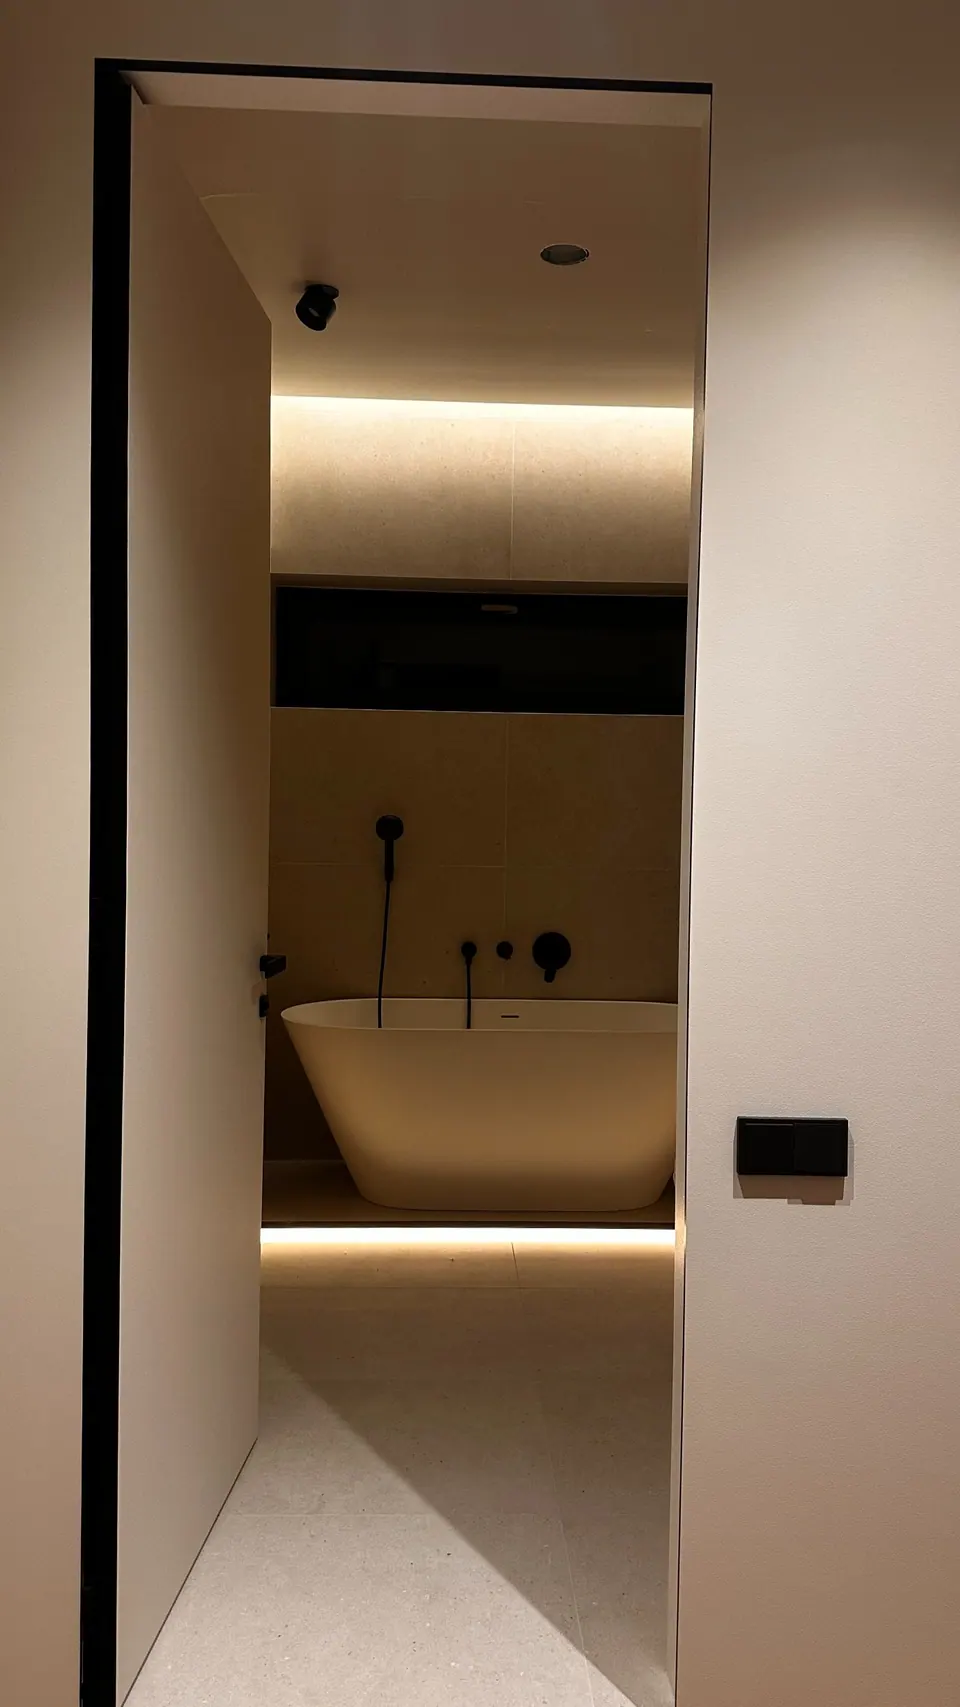
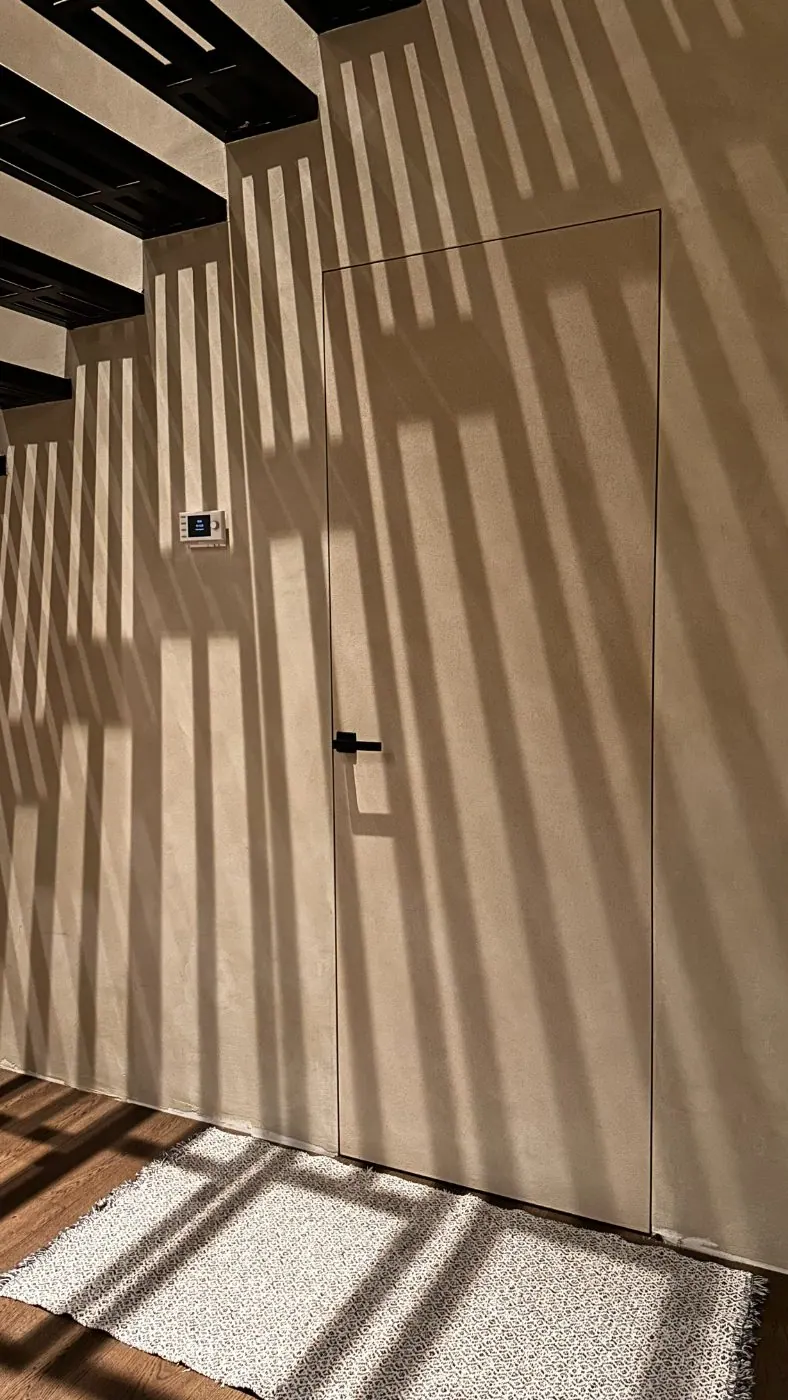
- Floor and wall reveals. A matching line at floor level, or flush door frames in the walls, make the room read as one consistent system.
- Corner protection. DKP aluminium corner profiles give crisp, protected external edges where boxed-in sections meet the ceiling.
Common mistakes to avoid
- Late decisions. Choosing the profile after the boards are up usually means compromise or rework.
- Poor set-out. An uneven ceiling level shows as a gap that changes width along the wall.
- Over-skimming. Compound pushed into the reveal blurs the arris. Keep the reveal clean while finishing.
- Forgetting the light. If an LED profile is specified, power and access must be planned before the ceiling is closed.
Professionals who want to judge the profiles in hand can request a free sample box. Distributors interested in carrying the system can read about our partner programme.