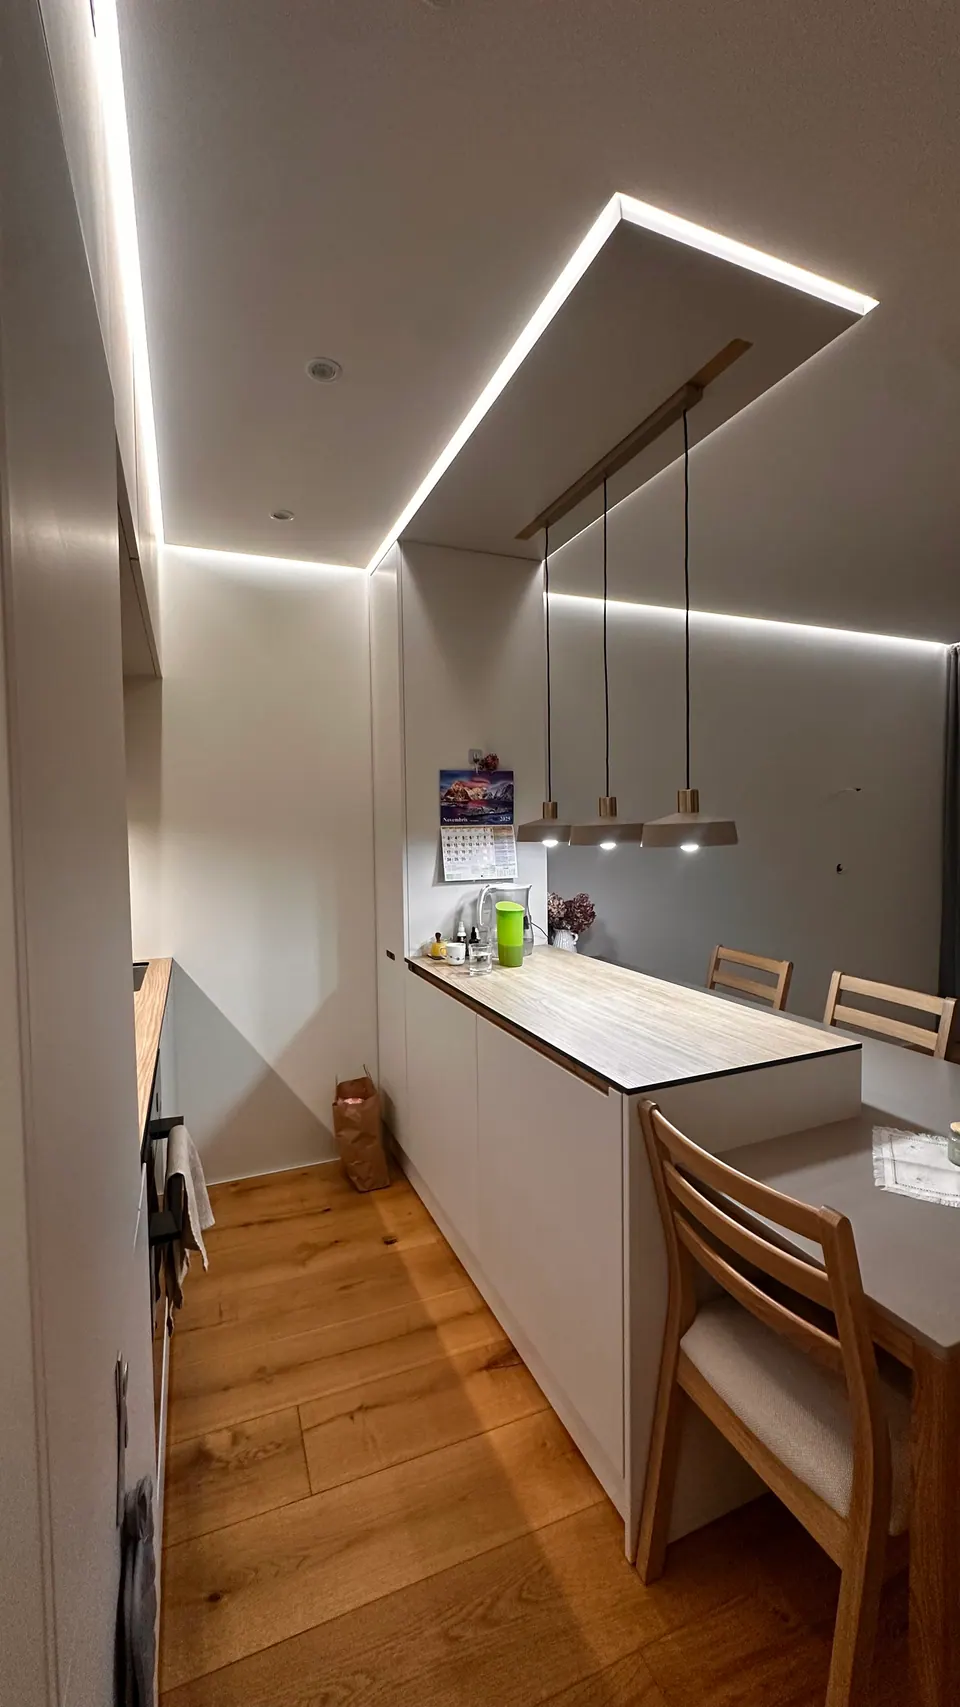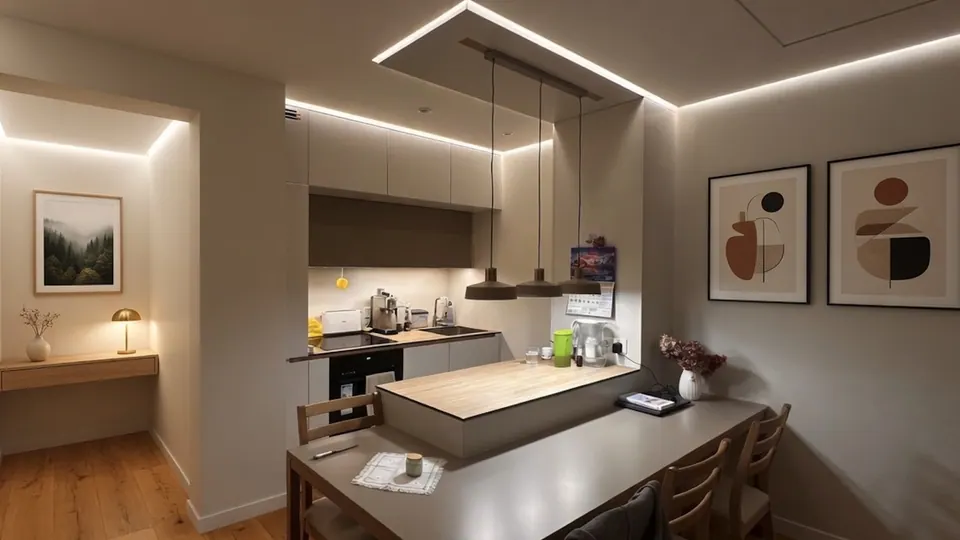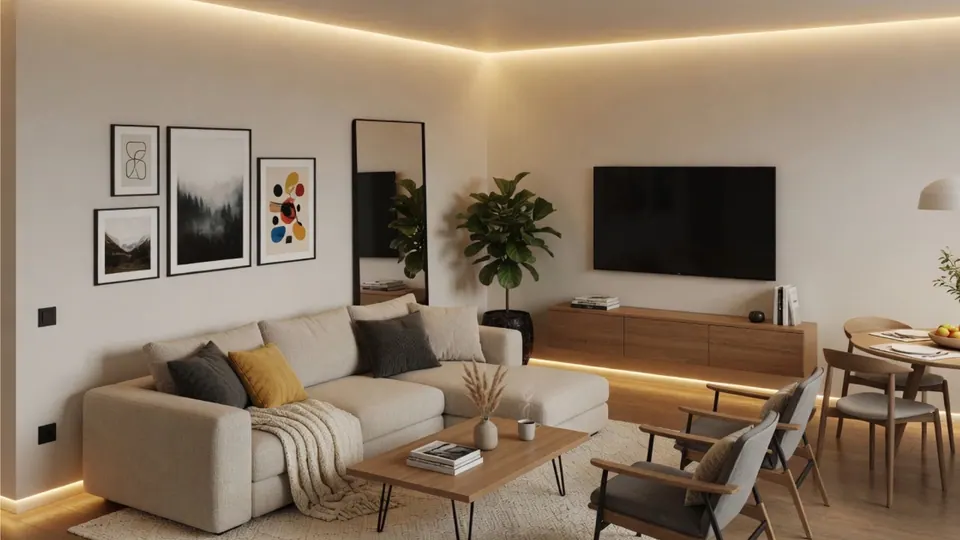
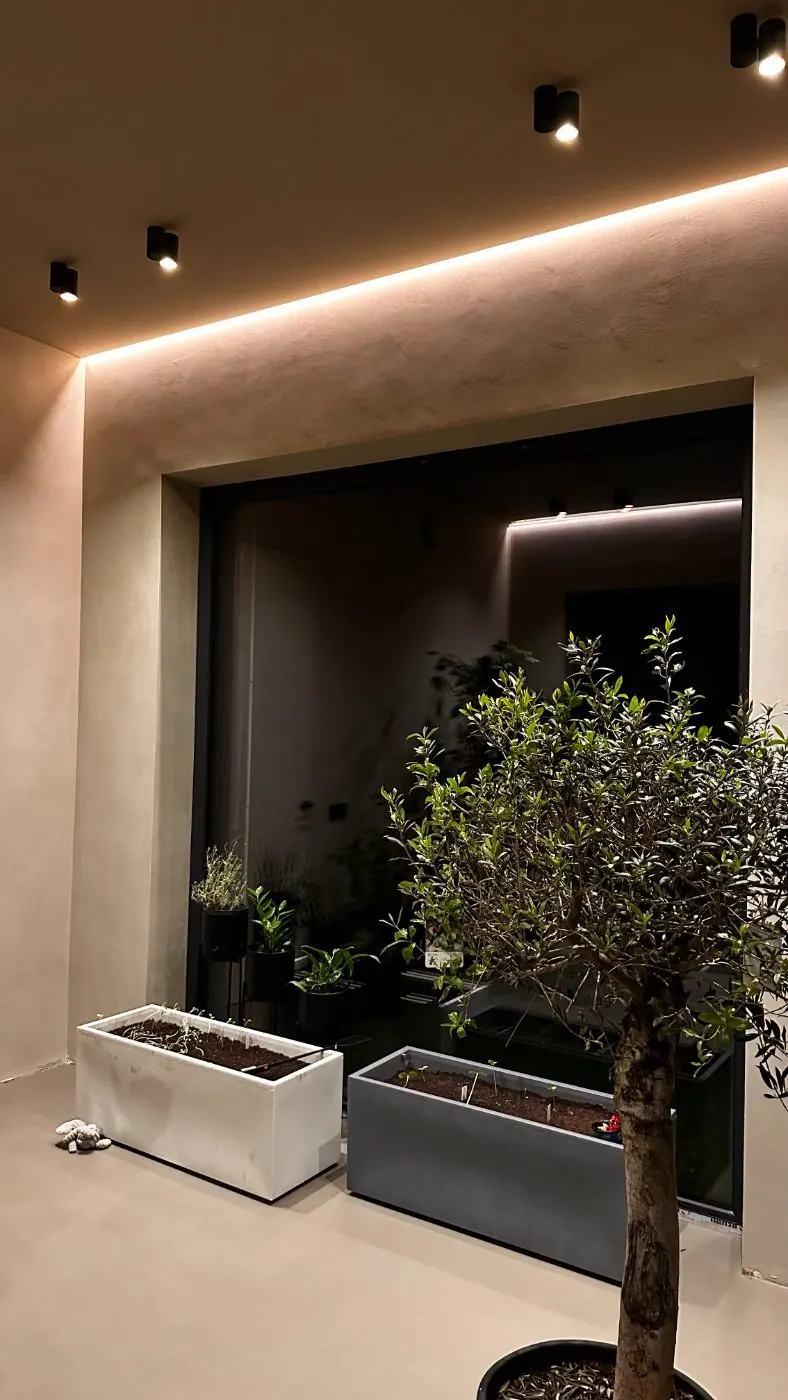
To install a shadow gap profile, plan it into the drawings and set-out, fix it at the specified line and level before the plasterboard is finished, bed its perforated flange in jointing compound under reinforcing tape, skim flush and then decorate. In LED profiles, the strip and diffuser go in last. Most failed shadow gaps come from skipping or rushing one of those steps, not from the profile itself.
This article gives the correct sequence first and then ten common mistakes, grouped by stage. Always follow the installation guide for the specific profile; partners and professionals receive it on request.
The correct sequence
The basic order is the same for ceiling, wall and floor profiles, as set out in our complete guide:
- Plan the profile into the drawings and set-out. The reveal is part of the detail, not an afterthought.
- Fix the profile to the framing, substrate or board at the specified line and level, following the installation guide for that profile.
- Bed the perforated flange in jointing compound, cover it with reinforcing tape and skim flush with the board.
- Finish and paint the surface. A straight, well-fixed profile keeps the shadow line crisp.
- For LED profiles, plan driver and access positions in advance and insert the LED strip and diffuser after decoration. Electrical work must be done by a qualified electrician to local regulations.
Surface-mounted skirting profiles are the exception: they are fitted on top of the finished wall, with concealed fixing, rather than plastered in.
Mistakes at the planning stage
1. Deciding on the shadow gap too late. The profile goes in before the surface is finished. If the decision is made after the boards are skimmed, the detail can no longer be built as a plastered-in reveal, and what remains is a compromise. The profile has to be on the drawings and on the delivery list before boarding starts.
2. Choosing the wrong profile family. Ceiling, wall, floor and skirting each have their own profile family, and they are not interchangeable. A recessed floor profile is installed behind the finished surface; a skirting profile is fitted to its face. Check the product page for the profile’s dimensions and, where one is published, its dimensioned drawing, and match it to the plasterboard build-up. Our article on shadow gap profiles and plasterboard covers this in more detail.
3. Not planning joints and lengths. Profiles come in standard lengths of 2.5, 2.6 and 3.0 m, so most runs need joints. Decide where they fall before fixing, and keep them out of the most visible sightlines where you can.
Mistakes during fixing
4. Fixing out of line or out of level. A shadow gap is a long, dark, straight line. Any wave or step in it is visible from across the room, and in an LED profile the light makes it even more obvious. Set out the line first and check it along the whole run before the profile is fixed, not after.
5. Ignoring the fixing method for the profile. Each family is fixed in its own way, and the installation guide for the profile is the reference. Some catalogue entries state it directly: the TINLINE skirting profiles MPA013 and MPA302 use a fixing spring every 50 cm, while the MVP018 and MVP172 skirtings are wall-mounted without connector elements. Under-fixing to save time is a typical way for a straight line to become a wavy one.
6. Rough cuts and improvised corners. Cut ends that are not clean and square show at every joint. Where a profile has pre-formed accessories, use them. The ASP60 skirting, for example, has an external corner (ASP60-NV), an internal corner (ASP60-NS), an end cap (ASP60-OK) and a connector (ASP60-Y), all fitted with a click system without adhesive, so there is no need to mitre on site.
Mistakes at finishing
7. Poor bedding and taping of the flange. The perforated flange has to be bedded in jointing compound, covered with reinforcing tape and skimmed flush with the board. Skipping the tape, or leaving the flange proud of the board, leaves a visible edge along the junction after painting.
8. Letting compound and paint into the reveal. The reveal is the detail. Compound, sanding dust and paint that run into the gap or onto the profile face blur the line that the profile was installed to create. Keep the reveal clean at every finishing stage and clean off any residue before it hardens.
Mistakes with LED profiles and ordering
9. Treating the LED as an afterthought. LED-ready profiles have a channel for the strip and accept a clip-in diffuser, but the electrical side has to be designed in advance. Typical errors are:
- no access position for the driver once the ceiling is closed
- the strip and diffuser fitted before decoration, so they are damaged or painted
- the wrong diffuser for the profile; compatibility is listed per diffuser, so ASL312 fits ASPL-130, RST-13/12 and AST-14/12, while ASL40 fits AST-35 and RST-40
- electrical work done by someone who is not a qualified electrician
Read more about choosing the strip, profile and diffuser in LED shadow gap profiles.
10. Ordering late, or ordering only the profile. Standard finishes vary by profile, typically mill, silver, black or white, and most aluminium profiles can be powder-coated in any RAL colour on request. A RAL colour or a missing corner discovered on site stops the job. Order the profiles, accessories and diffusers together, in the right finish, and confirm the delivery date with the quote.
Quick checklist before you start
| Stage | Check |
|---|---|
| Drawings | Profile, gap and finish specified; LED and driver positions agreed |
| Delivery | Profiles, corners, end caps, connectors and diffusers on site, in the same finish |
| Set-out | Line and level marked and checked along the full run |
| Fixing | Fixing method as per the installation guide for that profile |
| Finishing | Flange bedded, taped and skimmed flush; reveal kept clean |
| LED | Strip and diffuser fitted after decoration by, or with, a qualified electrician |
Installation guidance, build-up sequences and technical support are available from us or from your local distribution partner; see the resources page for what can be requested. Contractors who want to see the profiles before a project can request a free sample box, and distributors can read about the partner programme.